We’ve been in our home for 5 years now and finally it has started to feel more like a home. When we first looked at this house 5 years ago, I remember telling Brock there was no way we would be buying this home. Quite honestly, I don’t recall why we even came back for a second look, but next thing I knew we were buying our first home. A house that I swore I would never live in.
Before moving we really needed to clean the place. We gave it a new coat of paint and replaced a few other things like counter tops, light fixtures, and toilet seats. Yes, I know that is odd, but I really wanted to feel like a brand-new toilet without the cost. Here are some photos of the before and after, and a reminder that you don’t have to gut down a whole house to get a drastic change. I think the paint resulted in the biggest change. We painted the entire house, trim and doors. As I type this though I am reminded of how much work that really was. But that’s a story for another time.
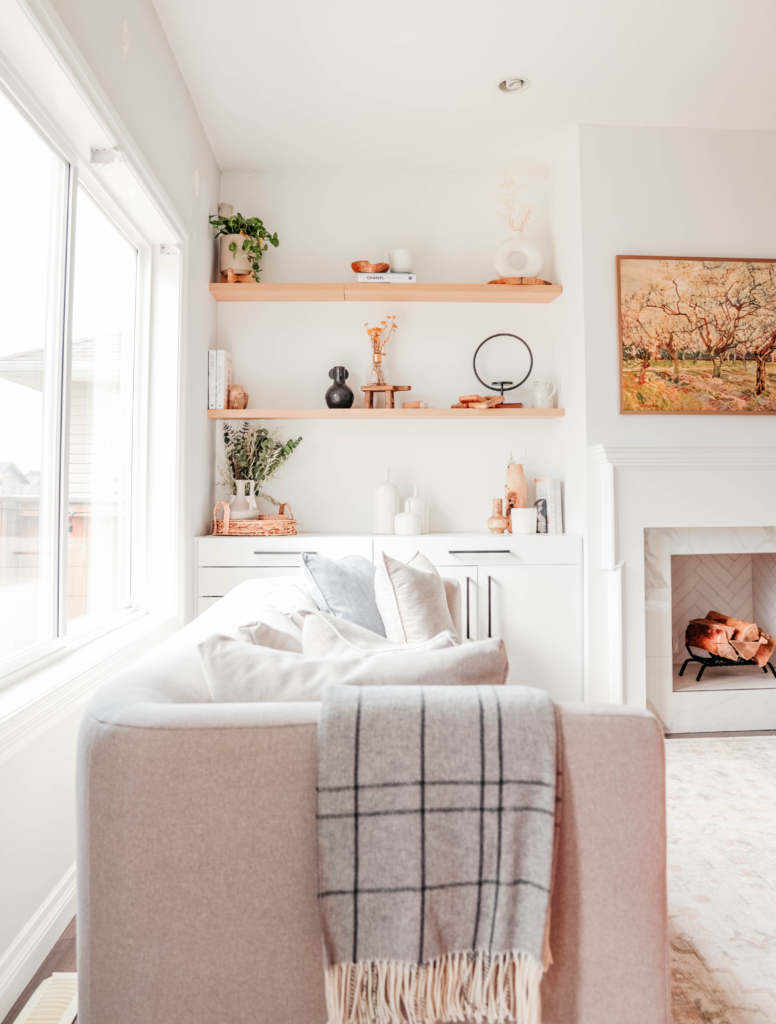
5 years later, and with 2 more kids in the mix, we really hadn’t done much to the house, but now the house wasn’t really functioning for us. Finally, we decided we needed to make some changes to really make this a home, and more importantly function for our family. So, we began looking into creating a space in our living room that was not only beautiful but created storage for all the kids’ toys. Because our basement is still a concrete block- all our kid’s toys are stored upstairs. Honestly, I was tired of cleaning up after the toys, things breaking because they weren’t stored properly etc. It had gotten so bad that I had put a laundry basket in our living room and toy clean up consisted of throwing all the toys in the laundry basket.
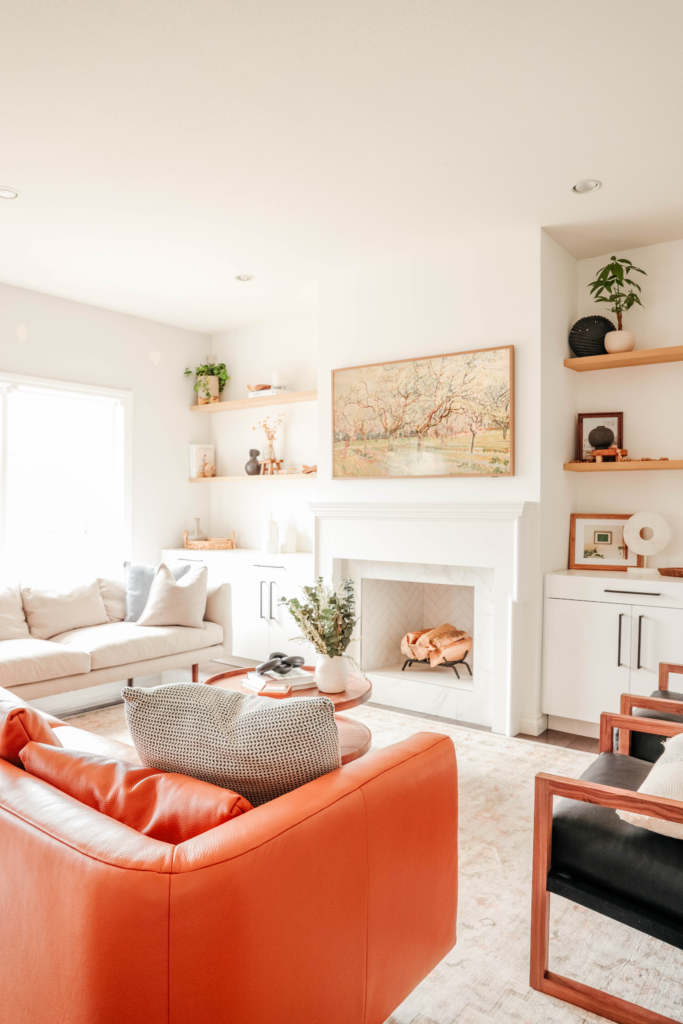
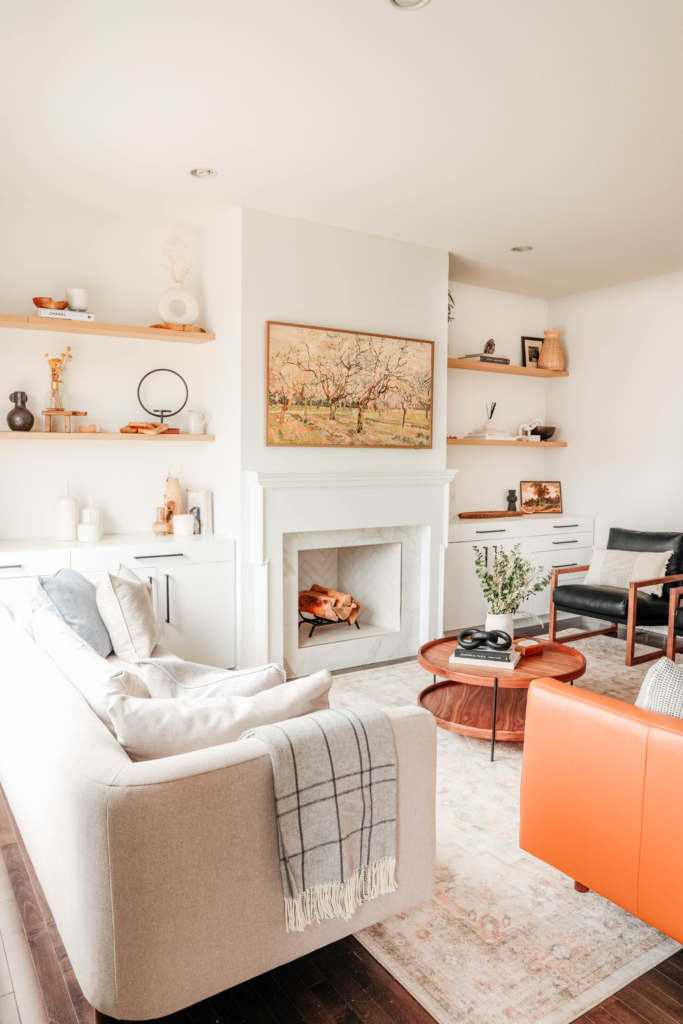
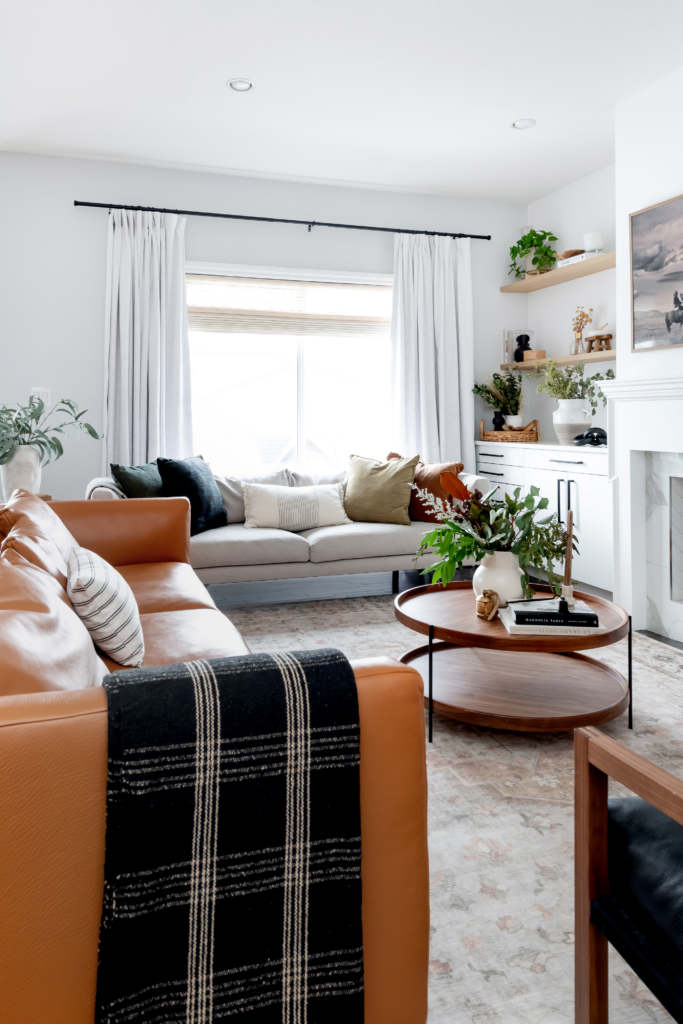
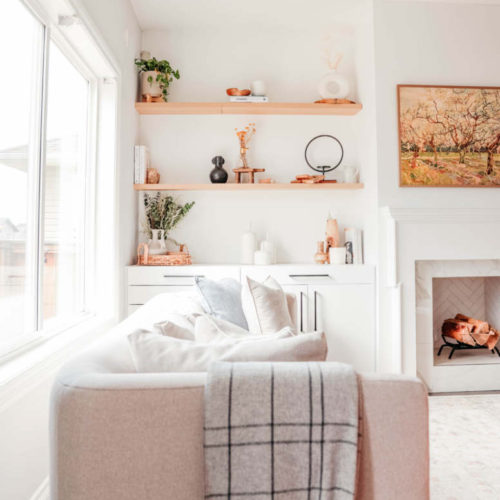
For the design for this space, I wanted to turn our cookie cutter house into more of a traditional design. I wanted it to feel welcoming, comfortable and functional. I’ve always wanted a fireplace in our home, and so we began with building out a frame for a faux fireplace. We dry walled it and added a mantel to create what has fooled many people for a real fireplace. This gave us a classic base to begin with and allowed us the opportunity to add some modern elements to the exterior of the fireplace. For the exterior, we went with a marble tile with grey veining. Interior we did a white tile with grey grout in a herringbone pattern.
Our home Is a greyish colour and I really wanted the fireplace to stand out, so I went with Chantilly lace by Benjamin Moore for my colour choice. Okay, so I loved the fireplace, but the space still didn’t feel complete. The wall still felt bare on either side, and more importantly it really wasn’t improving the functionality of the space.
I began doing some research and came upon a company called MYKITCH. It’s a Canadian company based in Edmonton. They specialize in creating cabinet doors for fit your Ikea cabinets. But they can also create the whole built in for you.
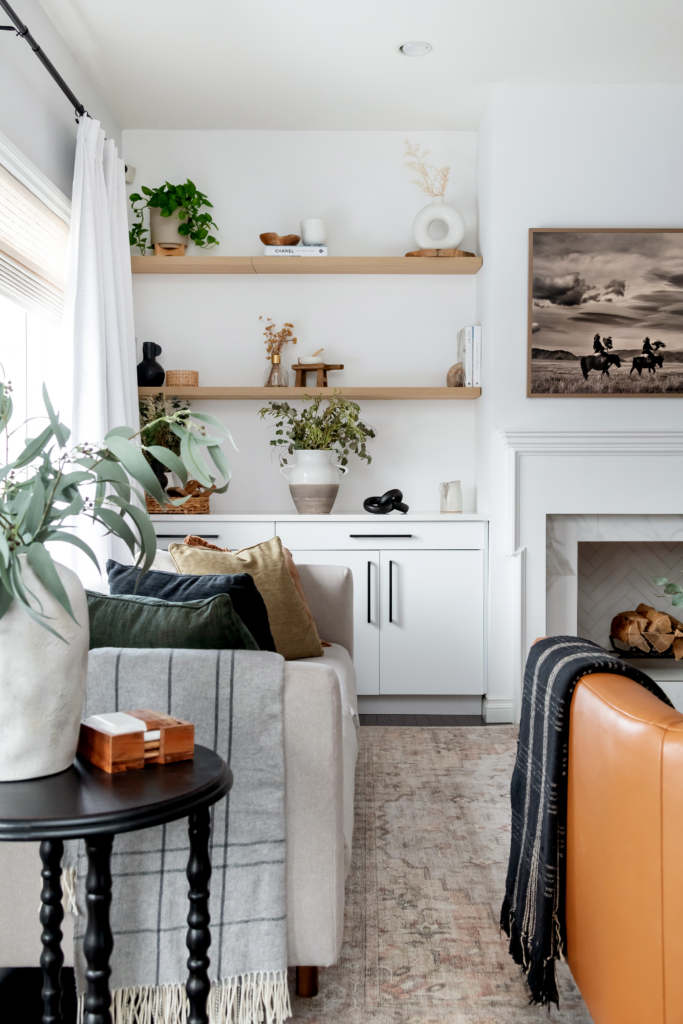
For the design I went with an open and airy concept with open shelves on top and closed cabinetry on the bottom. Once that was decided, I ordered some samples on the finishes I was considering. I’m sure we all know how hard it is to pick a white colour, so having some samples to compare the white of the fireplace and what cabinet to make sure either wasn’t going to make the other colour look yellow in the end we decided on super white, in a supermat finish.

The process overall was seamless and after doing some measurements, and picking the desired finish, I hopped on a call with a MYKITCH advisor. THIS WAS KEY. We went over what I wanted for the space- what would we be storing in each cabinet, what I wanted the whole design to look like etc. After a few changes, we ordered out built ins, and they arrived within an impressive 10 weeks. With all the shipping delays going on, I was pleasantly surprised with the shipping time.
We were sent an assembly guide a few weeks prior and received a phone call from their team member notifying us that our delivery would be coming within the next week to week and half, and then another call the day prior to delivery. The customer service was phenomenal from start to finish
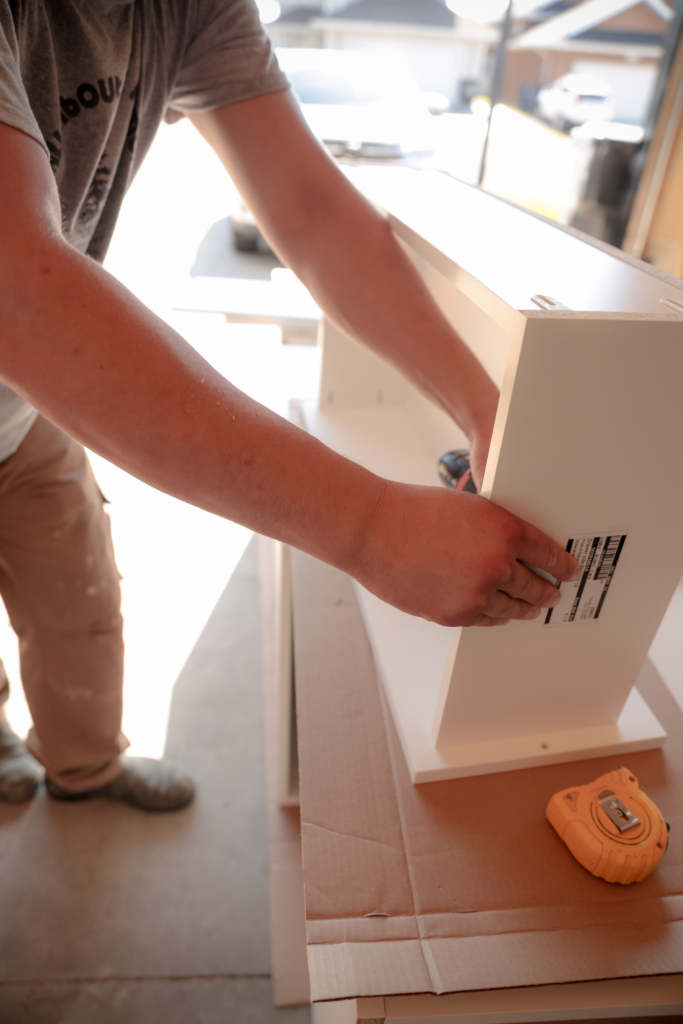
After we received the delivery, I had noticed we noticed the leg kits were missing. I was able to get a hold of one of their team members immediately. No 4 hour holds. Immediately we were assured that they’d send them out on an express shipment. The team also took the time to go over a few other assembly questions we had.
Okay so this is where I must admit, I did have someone come to assemble the cabinets, and open shelves. And to quote him- “the process overall isn’t complicated, its just taking the time to understand how to put them together.” The whole process took a day and half- only because he had some glitches with my measurements which required for the cabinets to be cut to a size that would fit our space.
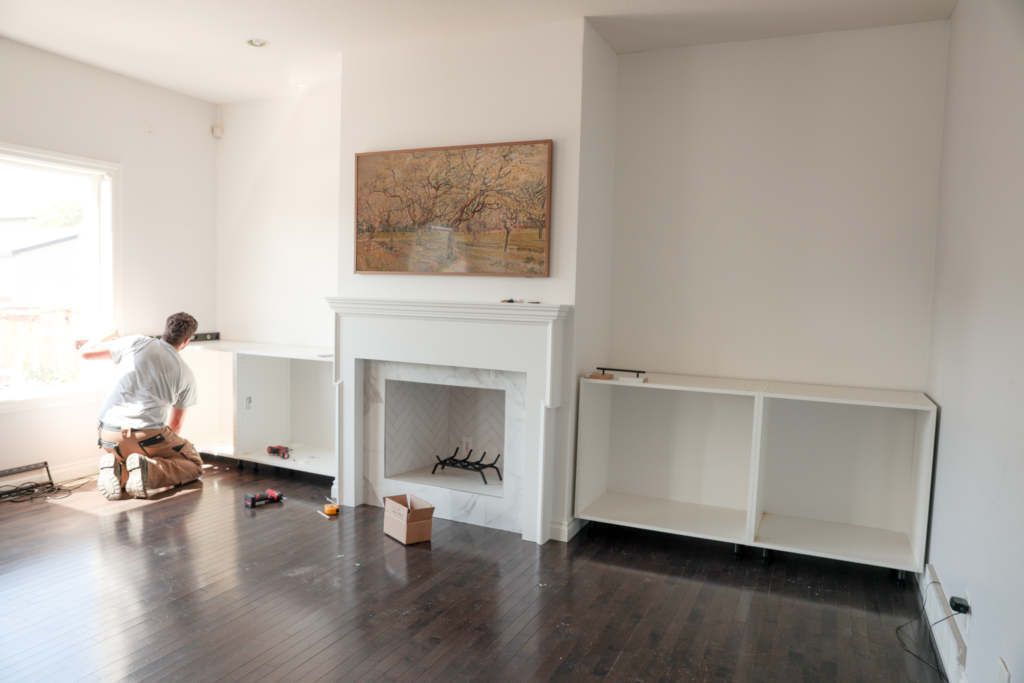
We went with soft close cabinets a great choice for little ones who could slam their fingers. This was a great recommendation from the MYKITCH advisor and one that I’m very glad I listened to!
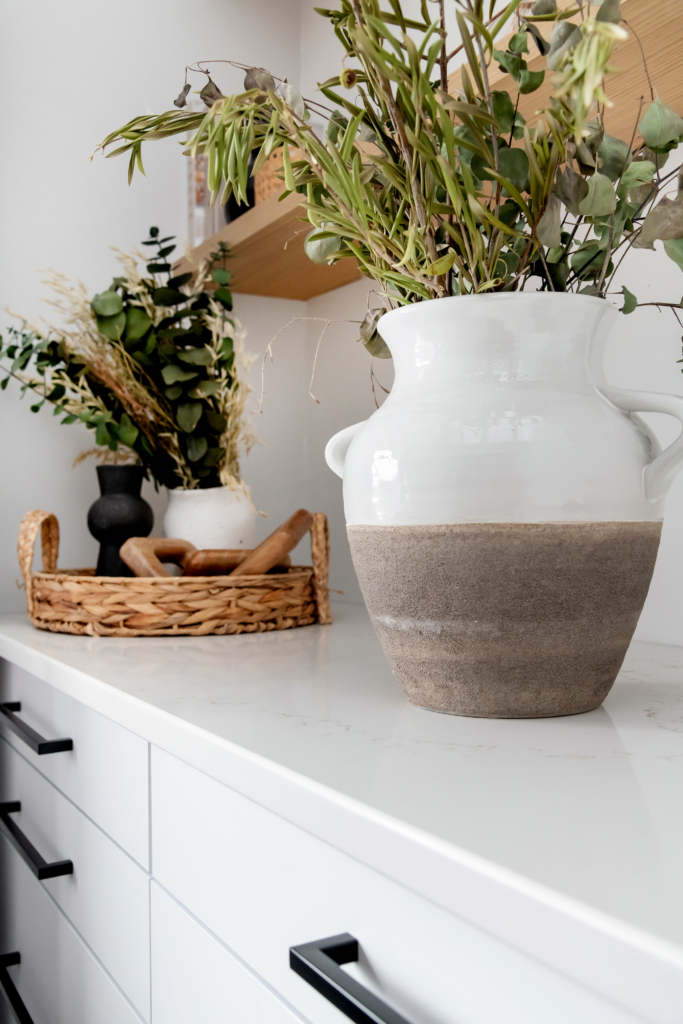
Finally, we were at the point of picking hardware. We wanted to make a visual impact-, easy to grip, clean lines, and minimal profile. We went some black edge full pull for the cabinets. And would it shock you to know these were from amazon- a very budget friendly choice.
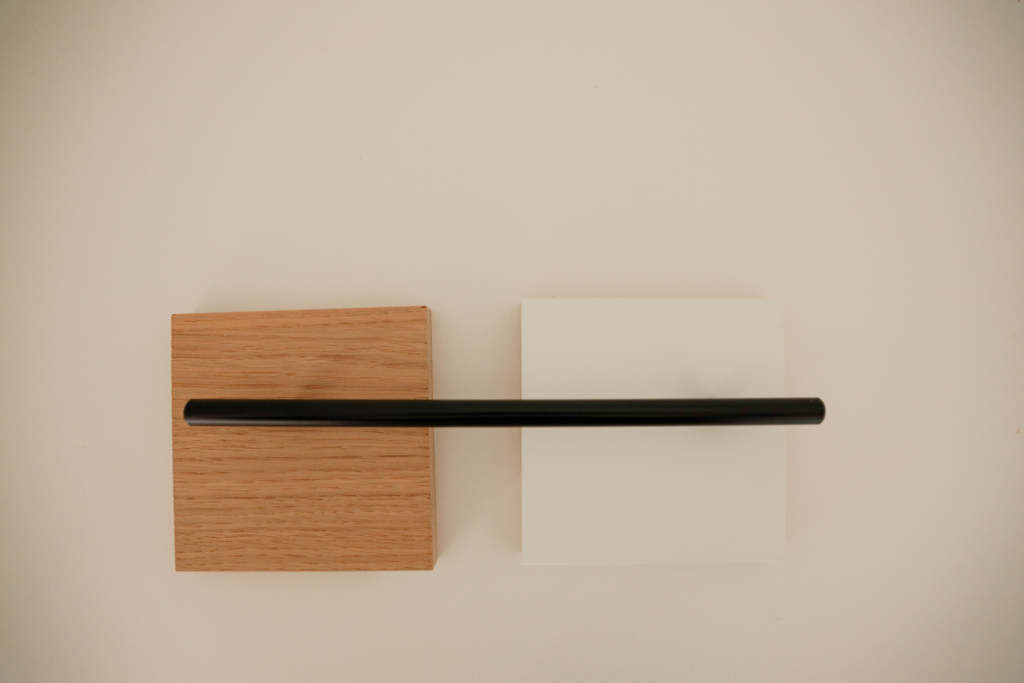
For our open shelves we had to navigate a shelf that would fit the large space, and our advisor recommended putting two shelves together to create the appropriate length. We also wanted to really warm up the space and went with an ivory oak, wood veneer finish for the shelves.
Finally, a space that felt comfortable, warm, inviting. We are still waiting for a countertop, but I am so happy with how this whole project came together.
Head over to my built in FAQs, for answers on budget, and specifics
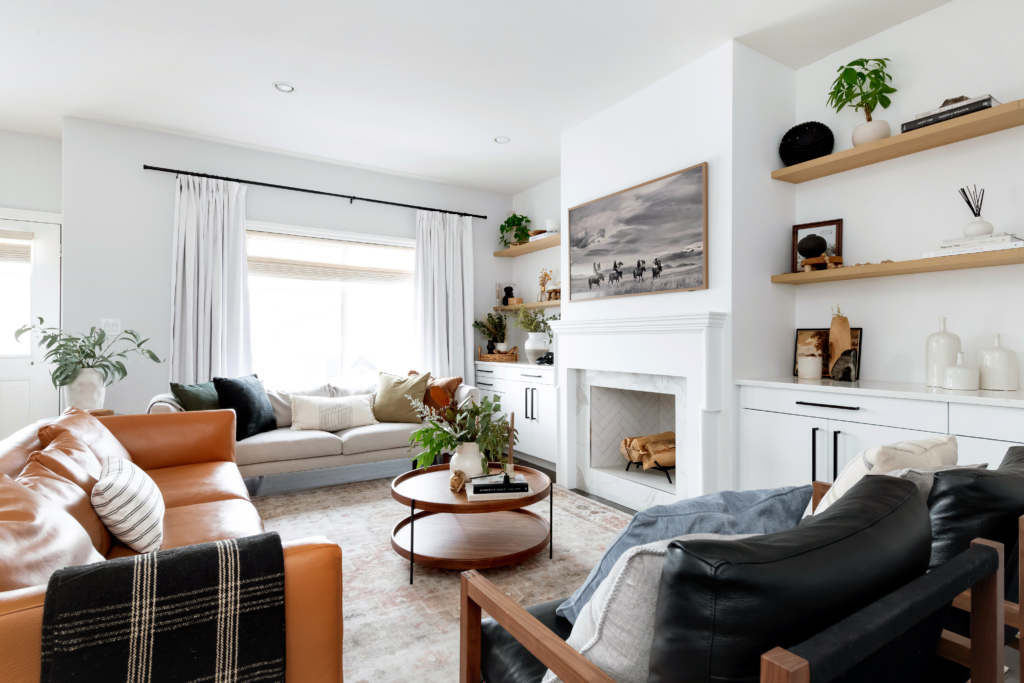
Image credit: dm_imagesphotography
Leave a Reply